
OAG Online Community
Using The Discord App
Coming out of the quarantine of the 2020’s, we’ve learned that, now more than ever, we need each other. We need community. Whether you attend OAG in-person or online, it’s important to stay connected with our church family for encouragement, accountability, and spiritual growth. We are doing our best to provide a safe way to connect during this unique season of life. And we are using an app called Discord. (Yes, we know that’s a terrible name…)
This is a brief overview of what Discord is, how to use it safely, and a walk through of what it looks like to connect with the OAG Online Community on Discord.
Please note: this is not a traditional social media platform, like Facebook. There are no algorithms determining what content you see or don’t see. The only “bots” in our Discord Server are those setup and maintained by the OAG Staff to keep our community safe and engaging. That’s one of the primary reasons we chose to use Discord as our Online Community.
Jump to a Section:
What is it and is it safe? / Join Our Server / Tips / Manage Notifications (Important!)
What Is Discord And Is It Safe?
Discord: Great app, terrible name. Sorry about that.
Discord is a free, multi-purpose chat and video call app that first became popular among gaming communities. Discord can be safe, but doing so requires you to change your privacy settings and being on the lookout for dangerous messages.
Much like on Facebook Messenger or Reddit, anyone above the age of 13 (and those below with parental consent) can join the platform, and there might be malicious actors who might expose users to mature content, spam messages, or phishing messages. While Discord primarily caters to teens and adults, there are also many younger kids on the platform as well.
We could go into more detail, but there’s already several articles on the internet written to cover these topics very well. So we are just going to link to them here. They are generally written to parents about keeping their children safe, but the suggestions in the article are applicable to anyone.
What Is Discord - An article written by the company that makes Discord
Helping Your Teen Stay Safe On Discord - A quick and easy guide also written by the company that makes Discord
Is Discord Safe? How To Keep Teens Safe On Discord - A much longer article with walkthroughs, screenshots, and guides on how to keep teens safe.
Joining the OAG Online Community on Discord
Step One: Request to be a part of our server
In order to keep our server safe and secure for our church family, we have several security measures in place. Before anyone is allowed to join the server, they must fill out the form below. In addition, if we don’t know you, we may require a face-to-face meeting which can be done in-person or through a video call over Zoom. That may seem like a lot, but this is how we perform due diligence to keep our community as safe as possible.
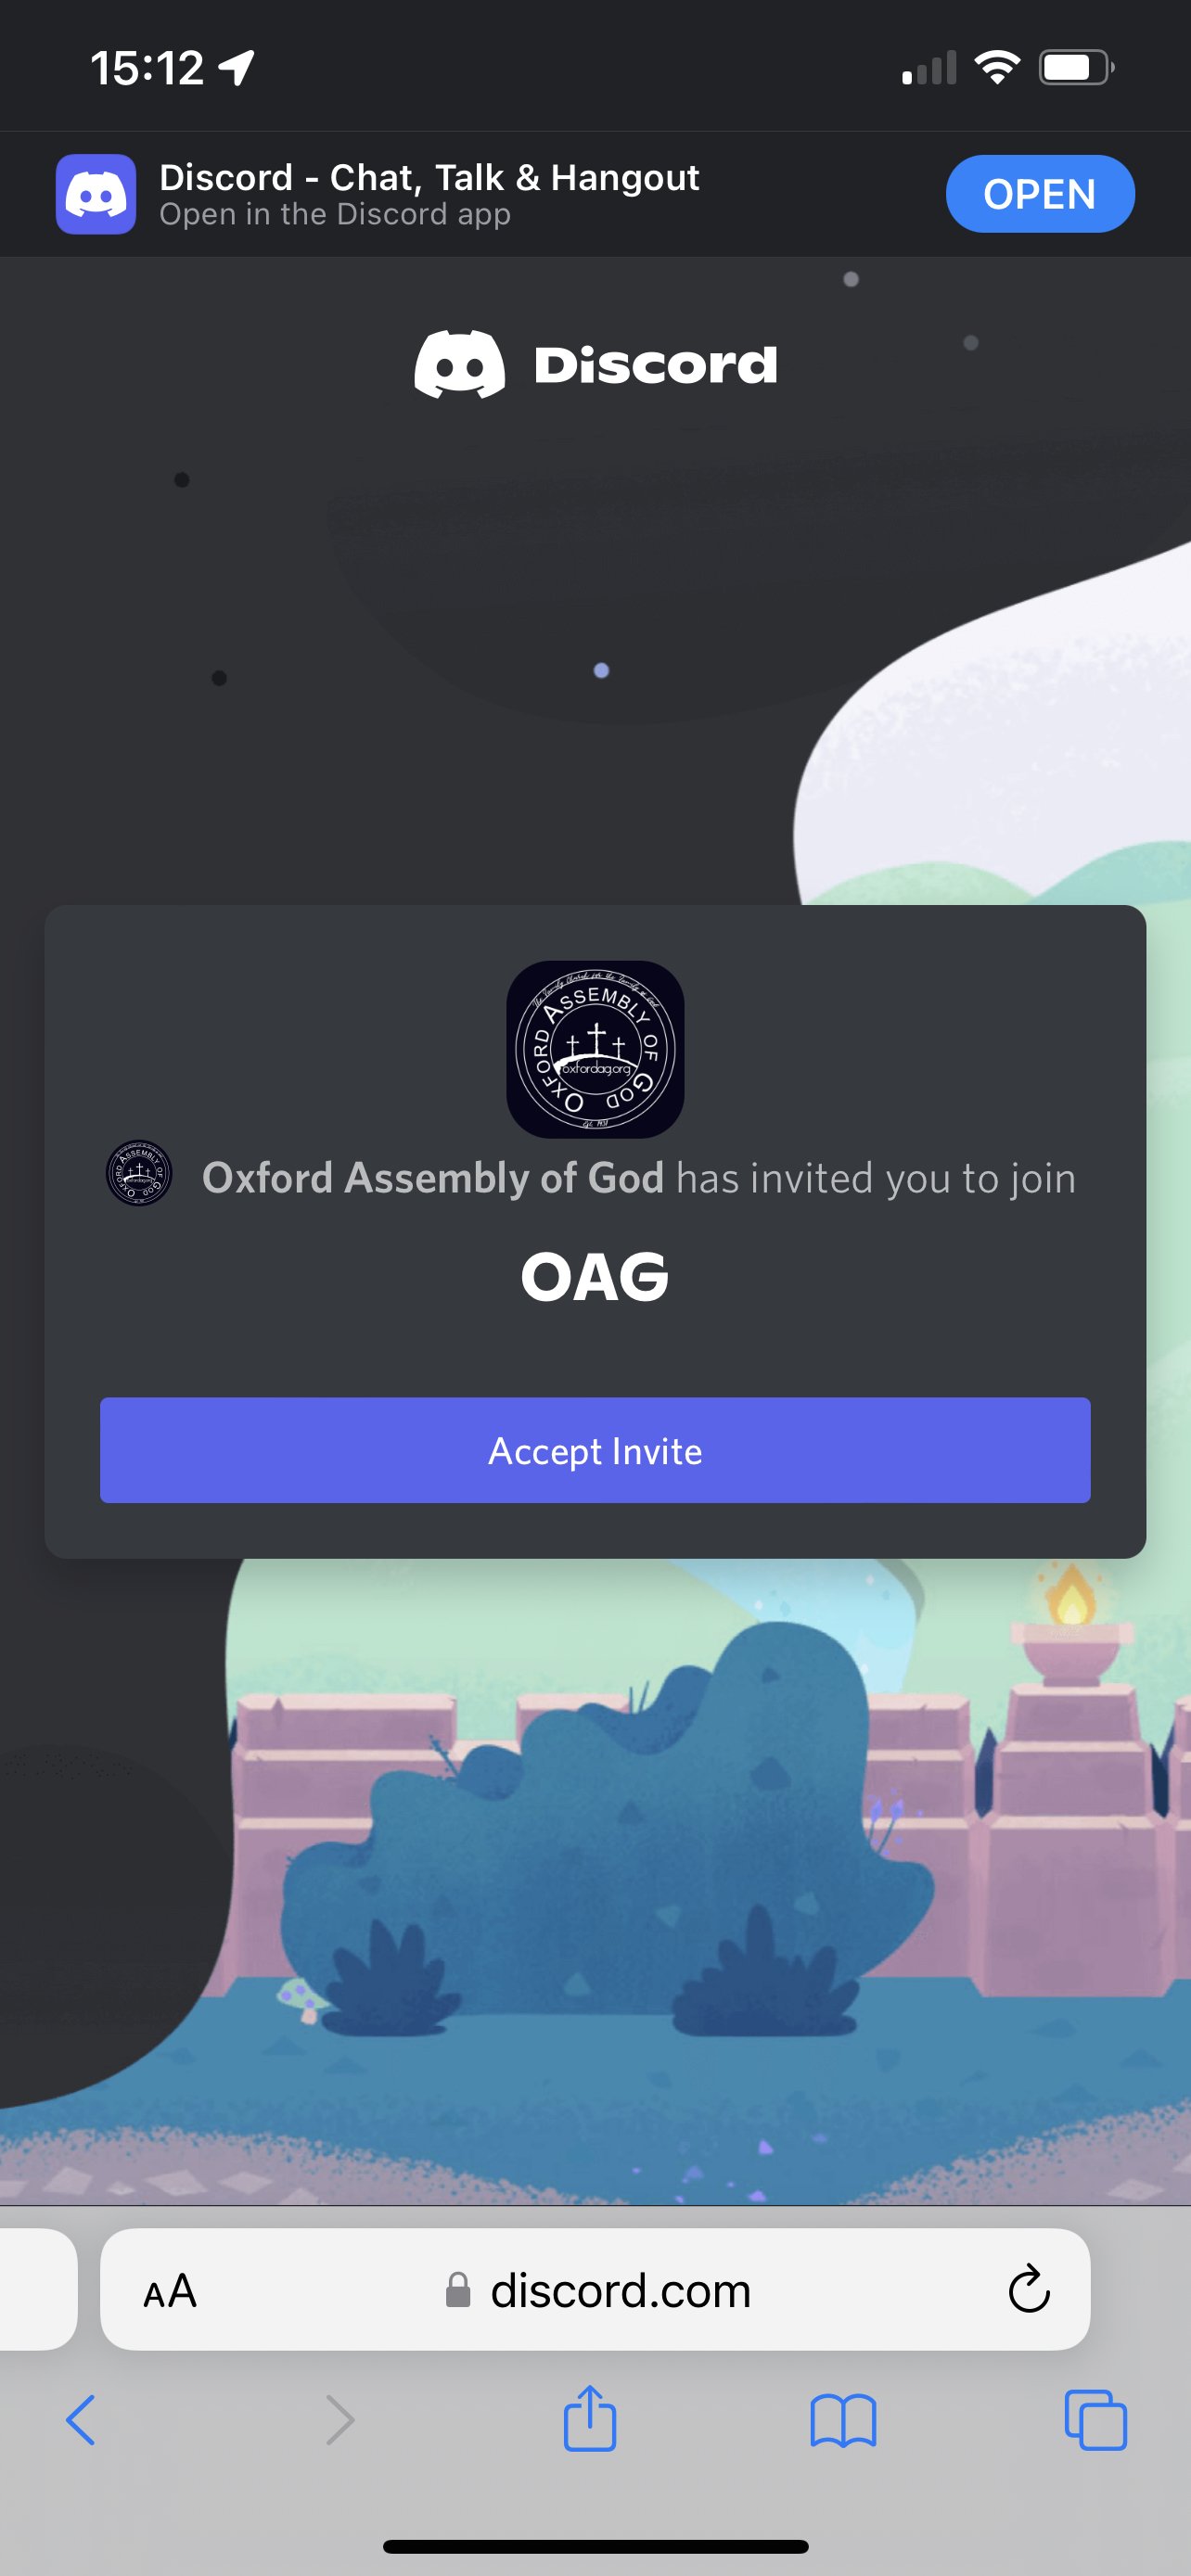
Once we have verified the information and vetted your application, we will send you an invite to the email address entered. Our goal is to have that done in 24-48 business hours. Once you receive the invite link, click/touch the link to be taken to a screen that looks like the one pictured here.
**Please note that this isn’t to make our Community exclusive or to leave anyone out. We just want to do our best to keep everyone safe. The vetting mentioned above means that we will simply be checking our church databases to see if you are a part of our church family in any way and in good standing. If we don’t know who you are, we may ask additional questions or require a face-to-face meeting in-person or through Zoom to understand why you want to be a part of our community and to make sure you truly desire to be a positive, productive member. Thank you for your patience.
Step Two: Sign-in to Discord (if you haven’t already)
Before joining any server (server is just another word for “community”), you’ll need to sign-up for Discord if you haven’t already. So, at this point, you’ll need to download the app to your computer, tablet or phone, or login using a browser by going to www.discord.com. Once downloaded, you’ll either sign-in, or create a free account.
If you are creating a new account, it will ask you several questions along the way such as:
Age-to verify you are over the age of 13 (this is required by law)
User Name (your specific Discord identification, different from a Nickname)
Find your friends (We generally recommend against this, as it involves uploading your contacts and searching their database for those people so you can connect with them. It’s the uploading of contacts we are generally uncomfortable with, but that’s up to you)
Creating a server (most likely this is not something you’ll be interested in, so you can “Skip” this step)
Joining a server (this can be done later if you have other online communities you’d like to join. For now, you can “Skip” this step)
Additionally, if you are creating a new account, you must verify your account before you can join our server. All that means is clicking on a link they send you in the email you use to sign-up to make sure you are a legitimate user of that email address and not just a SPAM-bot or other malicious actor. Once that’s done, you can move on to the next step.
Note: If the user is under 13, adult permission/moderation is required. When registering for a new account, please enter the parent/guardian’s birthdate instead of the child.
Step Three: Once you join our server
Once you accept the invitation, you will receive a Direct Message from “Carl-bot” (an automated server moderator) with instructions on how to use the server. You can find that message on the top-left part of your screen (or by swiping right on mobile to reveal the left part of the interface). Carl-bot’s picture looks like a turtle (see pictures below). If you follow the instructions carefully, it will walk you through the process.
Step Four: Accepting the rules and joining public channels
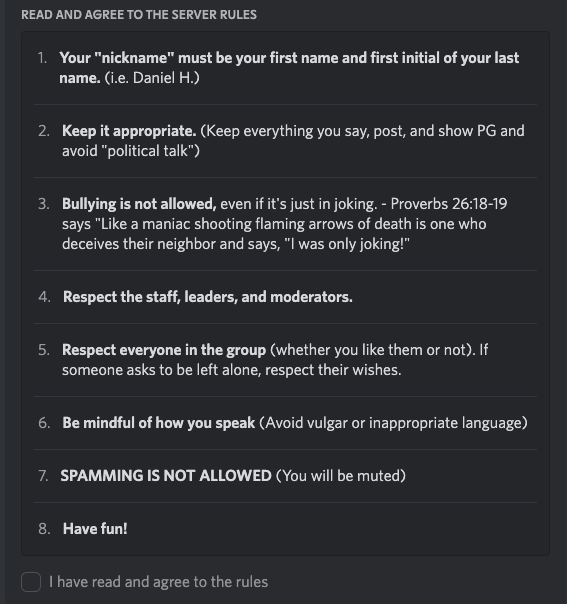
Once you join our server, you’ll be required to accept our rules and guidelines before you can participate. If you don’t see something like the screenshot below, click on the OAG Logo on the left side of the screen (If you don’t see it, click the 3 horizontal lines in the top left or swipe right on mobile). Read through the rules and, once you’re ready, click the checkbox at the bottom to agree. Once you do that, you’re in!
From here, you already have access to the OAG public channels (swipe right on mobile to reveal the channel list). If you’d like to join any group channels, simply view the #info channel and scroll to the top to read the instructions and answer the questions in there by clicking on the appropriate emoji below each message. The choices you make here will show you the channels that you need to see, and keeps the rest hidden and out of the way to keep things simple.


Tips
On the left side of the App you will find all of the TEXT and VOICE channels. Swipe right on mobile to see this list. Just select the one you want to see. The specific channels in the channel list may look different than the screenshot as we are constantly updating and tweaking things.
A text channel is indicated by a pound sign (#), and a voice channel is indicated by a speaker (🔊).

In order to join a voice chat (indicated by the Speaker icon) you must select on the desired channel (I.e. 🔊🔴| live-stream🔴) and select “Join Voice.” Click the microphone icon in the bottom left to mute/unmute your voice, the headphones icon to mute everyone’s voices, the speaker icon to adjust volume, and the red phone/x icon to disconnect from the voice chat.
How To Change Your Nickname
On our server, we require everyone to use their First Name and First Initial of their Last Name as their Nickname to ensure the safety of our church family, which will include teens and children.
To change your nickname on the Discord mobile app, open the app and then go to the server that you would like to change your nickname in. Once there, tap the Server Members List icon in the top-right corner of the screen. On the next screen, tap your name from the Server Members List. A window will appear at the bottom of the screen. Here, tap “Edit Server Profile.” Finally, on the next screen, tap the text box under “Nickname” and then enter your new nickname. Once finished, tap “Save.”
To change your nickname on the Discord desktop app, open the app and then go to the server that you would like to change your nickname in. Once in the server, find your name in the Server Member List, found in the right-hand pane, or from a recent message you’ve sent in a channel. Right-click your name and then choose “Edit Server Profile” from the context menu.
Manage Your Notifications—Important! 👀
This may be one of the most important parts of using Discord, so READ THIS SECTION TWICE. You must manage your notification settings, or you will not enjoy using Discord. Notifications are when your phone or computer lets you know there are new Discord chat messages. If you don’t get the notifications you want in the channels you want, you may miss something important to you. But on the flip side, if you get too many notifications that you’re not interested in, you will get tired of it and turn them all off, defeating the whole purpose.
So, to make sure you get the notifications you want and aren’t bothered by the ones you don’t, you must choose your notifications settings wisely. There are 3 main options, as well as the option to mute, on a channel by channel basis.
The 3 options are:
All Messages - this means that you will get a notification on your device for every single message in that channel. Be careful to use this sparingly, as it can get real old, real fast.
Only @mentions - this means that you will only get notifications when someone has specifically tagged your name so that you’ll for sure see that particular message. It’s like when you’re in a large room with a bunch of people, and someone specifically calls you over to their little group so that you can participate in this particular conversation.
Nothing - this means that you will not get any notifications at all for that channel, even if someone @mentions you. Be careful to use this sparingly as well, as you may miss something important, or someone trying to get your attention about something specific.
The default setting for the entire server is that you will only get notifications on your device when someone @mentions your name. For most of the channels you are in, that is probably the best option. This ensures that you won’t get bombarded by a whole bunch of notifications at once, but can still see the ones that you’re tagged in which could be important. However, if there is a channel that is very important to you, you may want to turn All Messages on so that you don’t miss anything. Again, use this sparingly, and use the mute options (see below) when you need a break.
Muting
One last thing to be aware of is the option to mute. For example, let’s say that you’re in a private group channel, and generally you don’t want to miss anything in that channel, as the conversations in there are important to you. However, you have an important work meeting, and you don’t want to be bothered for the next hour, or you are having a family day and want to focus on your family. You can use the mute options, which temporarily mutes the notifications from that channel. Each channel has several mute options, from 15 minutes to 24 hours. These are temporary, reverting back to your previous option when that time expires, except for the “Until I turn it back on” option, which should be self-explanatory.
How to set notifications
On Mobile: choose the channel you would like to adjust notification settings in —> Swipe left —> Touch the ‘Notifications’ option near the top —> Either choose a mute option in this list or touch the ‘Notification Settings’ option at the bottom —> choose your option —> touch ‘Close’ and then swipe right to return to the channel.
On Desktop: choose the channel you would like to adjust notification settings on the left side of the screen —> click the notification bell at the top, near the right side (it may have a slash through it) —> click your option
Be Patient
As we build out our online community, configure the proper safety protocols, and fully understand how people are going to use it, we may run into speed bumps such as improper permissions and other potential weirdness. It’s a work in progress, so be patient. If you have comments/questions, be sure to DM Pastor Daniel.
Have fun!
We strive to help our church family, and our students, stay connected with friends, Pastors, and God in this time and we will do this in a safe and secure way. We have taken many steps to ensure that everyone is safe to use this community. Please let Pastor Daniel know if you have any questions or need any guidance with the application!